Wood Panel Map

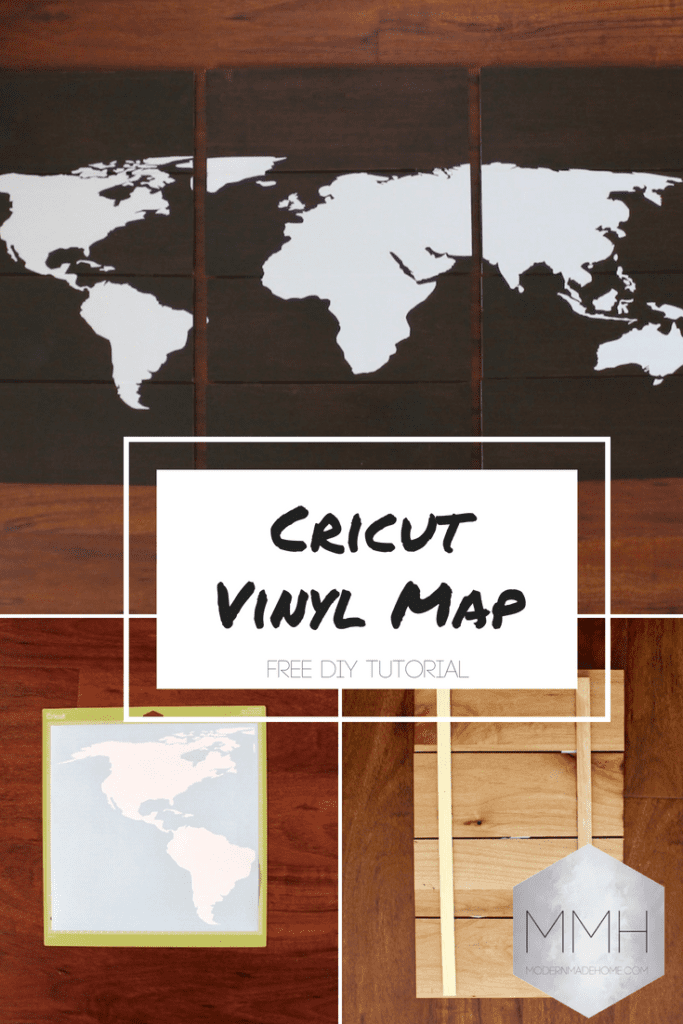
I was searching Pinterest for ideas for my baby’s nursery and was inspired for this project by some really cool large wood maps for the wall. This is my take on an easier, lighter version of those and I’m pretty pleased with the outcome! My father-in-law had some extra wood flooring from a project that we used. We stained it with Rust-Oleum in the color Kona that we used for our hexagon shelves and bookshelf ledges as well.
*Disclaimer: This blog post contains affiliate links and any purchases made through such links will result in a small commission for me (at no extra cost for you).
Materials Needed:
- Table saw
- Sander
- Wood glue
- 12 pieces of wood flooring (⅜” x 4 ¾”) cut 12” long
- 6 back supports ½” x 1” (or leftover flooring)
- Cricut or vinyl cutter
- Vinyl
- Transfer Tape
- Stain (optional)
*Notes – If you wish to stain your flooring, do it first before you make the panels
Instructions
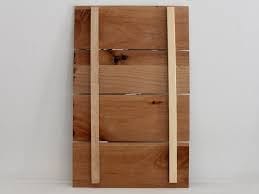
– Lay 4 pieces of flooring face down, lined up, with an even space between them
– Place wood glue close to the top and bottom of each plank where you will lay the supports up against the back
– Firmly place support along glue and let sit to harden for 24 hours
– Repeat step 1-3, 2 more times
– Download files below for the world map divided into three parts
– Upload files to Cricut design space
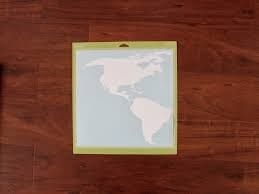
– Cut each piece of vinyl

– I used sticky notes to mark the center 12” on each panel to make sure I centered the vinyl. The first one is the most important and the other two will be easier to line up with the piece before
– Cut a piece of 12×12 transfer tape to make it easier to apply straight
– Using transfer tape, carefully transfer each piece to a panel
– If you have some air bubbles that’s okay! I used my Cricut scraper tool to push them to the edges
I used a permanent vinyl so I didn’t add a coat of glue over the top to make it stick. However, if you’re worried about peeling you can add a layer of mod podge glue (NOT the spray). Also, the sealer may alter the color so make sure you test it before applying.

